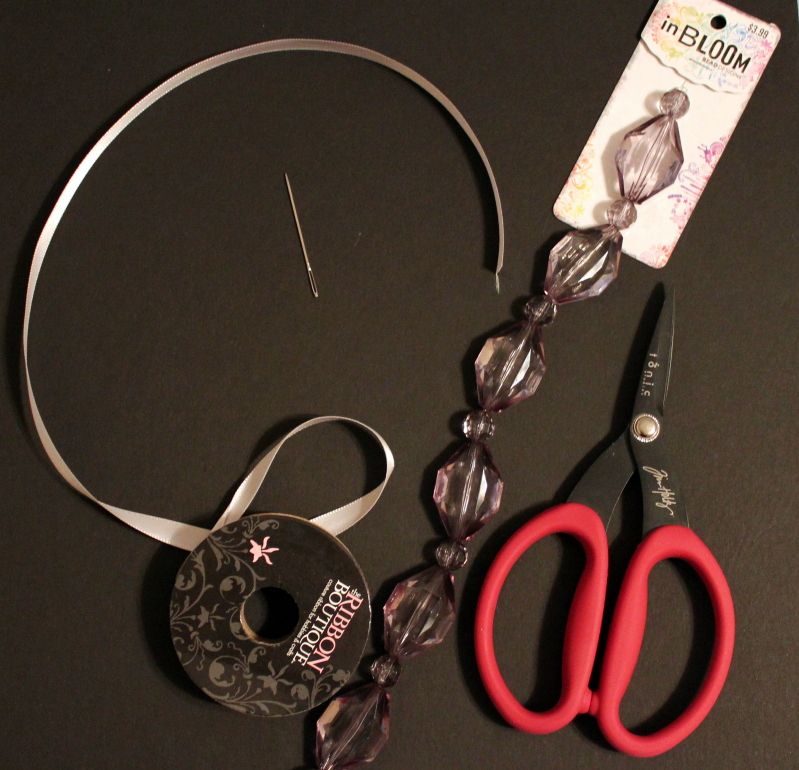
Supplies:
Ribbon (I used 3/8", satin ribbon)
Chunky beads (Make SURE the hole in the beads is WIDE, I stuck the needle in it to make sure)
Size 22 (large) needle
Scissors
Measuring tape
Measure out 48 inches of ribbon. I decided I wanted to make my ties on my necklace about 18 inches in, so the necklace can be longer or shorter. This measurement had everything to do with how long my beads were. Measure that out and figure it out for your beads. Don't worry if you mess up because knots come undone easily!
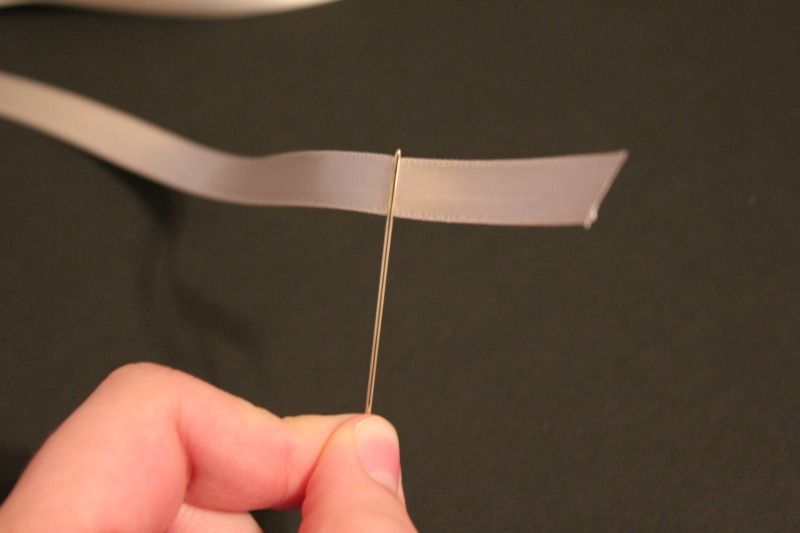
Thread your needle on the longer side of the ribbon. I used larger needle because it was very easy to thread the ribbon on there.
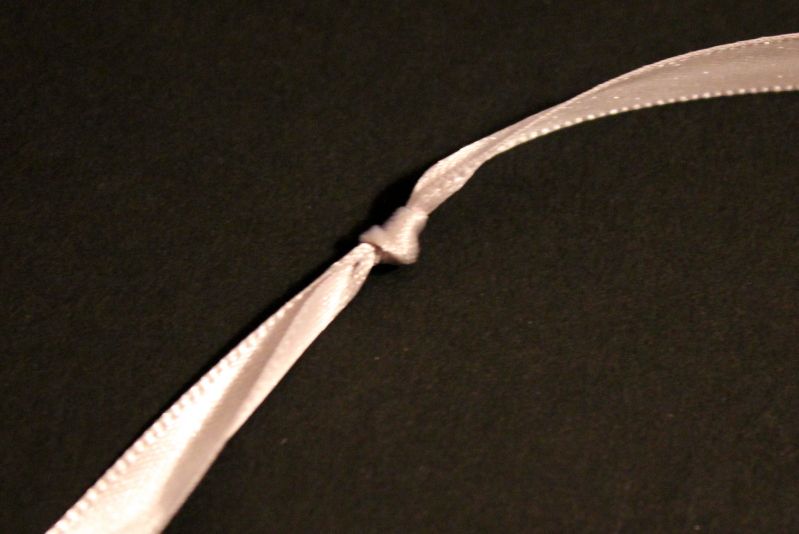
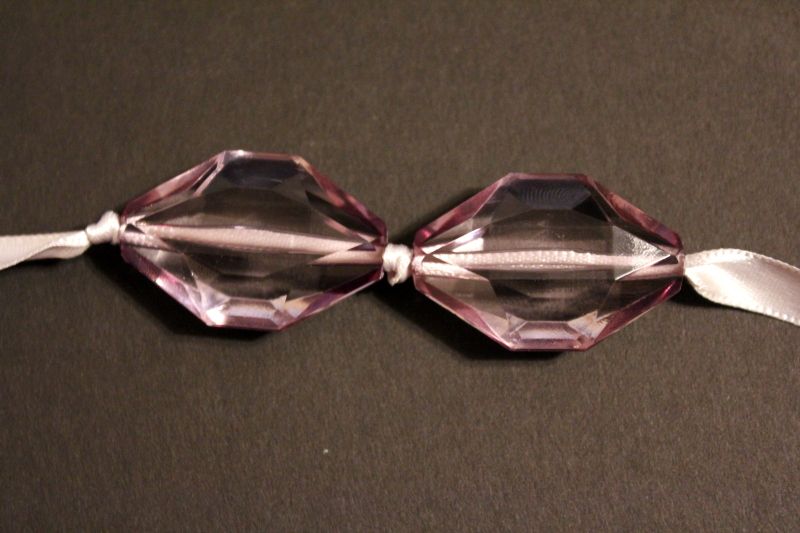
Follow your bead with a knot
Make a larger knot and then use your thumbs to push it up next to your bead
Tighten up to make it flush with the bead. I didn't want much movement in between my beads and knots so I
made it extra tight.
made it extra tight.
Repeat until you run out of beads. Then burn your edges to prevent fraying. Very easy, just wave them over a lighter and you're done.
(The ribbon is long on either side)
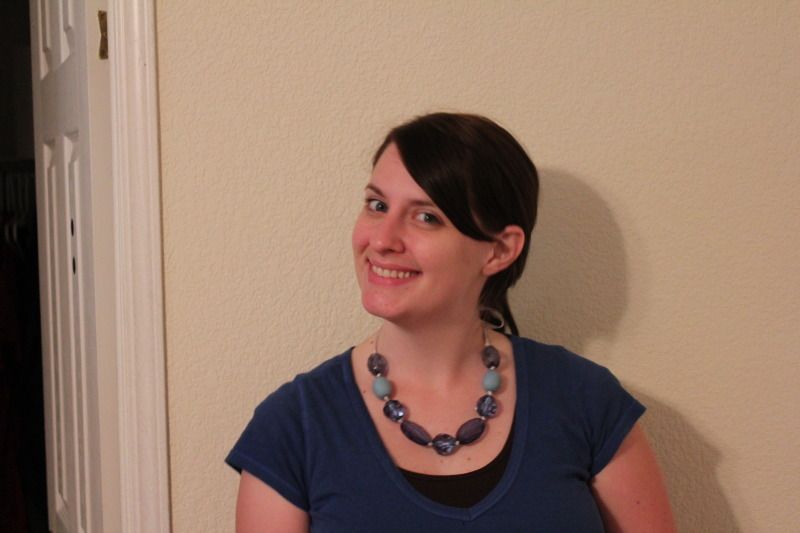
Here's the one I made for myself:
Total cost: around $3!
Total time: less than 15 minutes
Who would you make one for?



this is soooo cute! love it
ReplyDeletenice !!!
ReplyDeleteVery pretty! And way fun!
ReplyDeleteBrilliant! I am always timid about stringing beads onto ribbon. I should just get over it already. Thanks for sharing!
ReplyDeletevery cute:) and great tutorial:) thanks for sharing and linkin up to tell me tuesday!:)
ReplyDeletexo
ash
So cute!!
ReplyDeleteSo many great ideas on your site, I can't wait to check it out some more.
ReplyDeleteLisa~~
Cook Lisa Cook
you make it look so easy as usual!!
ReplyDeleteThose turned out fabulous!
ReplyDeleteVery pretty necklace. Love the ease of it, but the looks are stunning.
ReplyDeletevery nice~great idea!!!
ReplyDeleteSo pretty and so easy to make too! I love it!
ReplyDeleteThey turned out really cute! I love how versatile the clear one would be! Thanks for linking up with DIY under $5!
ReplyDeleteGrams could use a new necklace!
ReplyDeleteVery pretty! How easy was that? And you can't beat The price. I suppose you could wear it just about anywhere... Great job!
ReplyDeleteKaren
Such a great accessory! Love it! I am visiting from Sugar and Dots and I am a new follower!!
ReplyDeleteHope you are having a great week and I see you around my blog soon!
Michelle
www.delicateconstruction.blogspot.com
That is very pretty!
ReplyDeleteThanks for visiting my blog! I hope you come back soon! I'm following you now!
So cute! Love this!! :-)
ReplyDeleteLove the satin ribbon with those beads - and it looks super easy! adorable :)
ReplyDeleteThis is a really fun project with a great tutorial - thanks for sharing!
ReplyDeleteLowri
http://papervinenz.blogspot.com/
Oh, I'm always looking for cute and cheap accessories to dress up the basics. Clever idea.
ReplyDeleteGreat idea :) The tutorial was great! Thanks for sharing
ReplyDeleteThank you so much for posting this. I am always looking for something to make that is budget friendly but actually looks like something classy to wear.
ReplyDeleteGood job!
Sooo pretty! Love the versatilty of the bead color and ribbon to really switch it up! Thanks so much for sharing with the Pink Hippo Party.. can't wait to see what you share next week!
ReplyDeleteWhat a lovely simple idea for a necklace! Looks fabulous!
ReplyDeleteThanks for linking to a Round Tuit!
Hope you have a great week!
Jill @ Creating my way to Success
http://www.jembellish.blogspot.com/
Great tutorial! Thanks for sharing it with us on our link up party! Super cute necklace too :) Finally something to do with my growing stash of ribbon and beads. ;)
ReplyDeleteBritney
www.jandmseyecandy.blogspot.com
http://www.facebook.com/JandMsEyeCandy
I'm so inspired by your necklace. I've never made any necklaces, but you make this look easy *and cute! Thank you for linking this up to Sew Woodsy last week. We featured your necklace today on our page. We hope you'll join us tomorrow for another fun and exciting link party! :)
ReplyDeleteCute & looks so easy. :) Following from Sumo‘s Sweet Stuff link party. Would love to have you link this up to my {wow me} wednesday link party going on right now over on my blog. Hope to see you there.
ReplyDeleteGinger
gingersnapcrafts.blogspot.com
Hi Jaime!
ReplyDeleteSo glad you linked up this fun chunky neclace last week at the Tuesday To Do Party. You Wayward girls are so crafty! I'm behind commenting on everyone's link up because on some technical difficulties...think they're worked out now!!! Can't wait to see your next clever endeavor!
Smiles!
Jami
www.blackberryvine.blogspot.com
LOVE this! Thanks so much for linking up! I am featuring this tonight! :) Have a great weekend!
ReplyDeleteCrystal
Homemaker in Heels
This is AWESOME!!! Totally has an Anthro feel to it! And I can't believe that it cost less than $3! That is my kind of craft! :) Thank you so much for linking up to Strut Your Stuff Saturday- we would LOVE to have you come back tomorrow and link up more of your great posts!
ReplyDelete-The Six Sisters
http://sixsistersstuff.blogspot.com
This turned out so pretty!! :)
ReplyDeleteThank you for linking up to {nifty thrifty sunday} last week!
I hope to see more of your creativity this weekend!
xoxo,
Vanessa