Clay Conversation Hearts

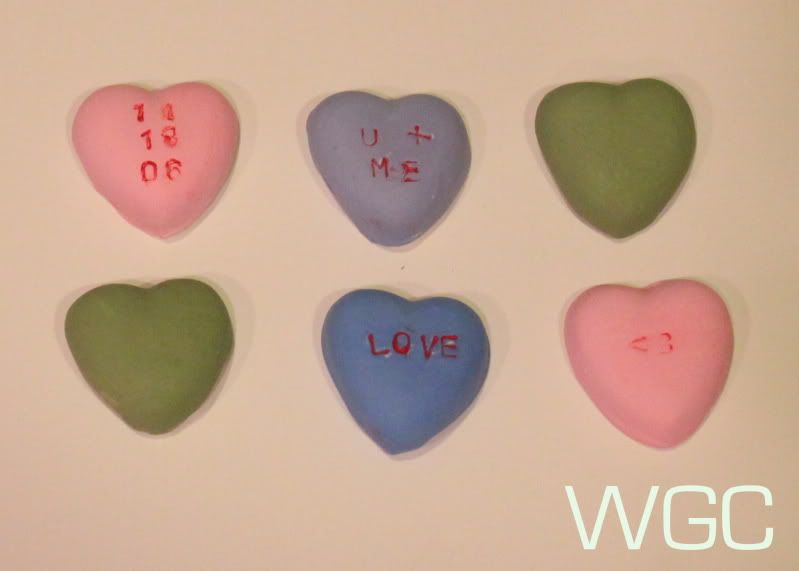
A few years ago, I decorated for Valentine's Day by filling a vase with with conversation hearts. I loved the way it looked but it seemed a little wasteful as neither me nor my husband like conversation hearts. This year I decided I wanted to make some hearts that would last and I wouldn't feel guilty about not eating.


Photobucket 

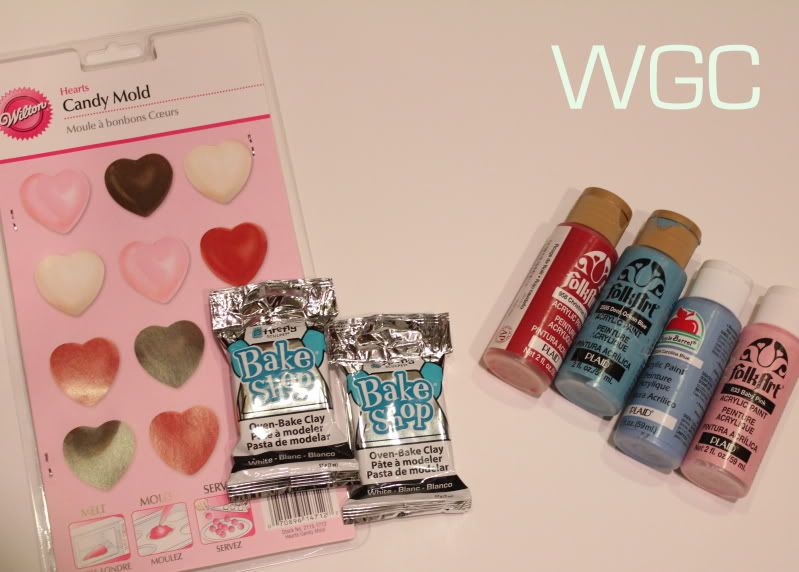
Materials:
White Polymer Clay (Like Sculpey)
Heart mold (I used a chocolate mold, it was 40% off)
Paint

Photobucket


Tools:
Toothpicks
Steel Letter Stamping Set
Paint
Paint brush

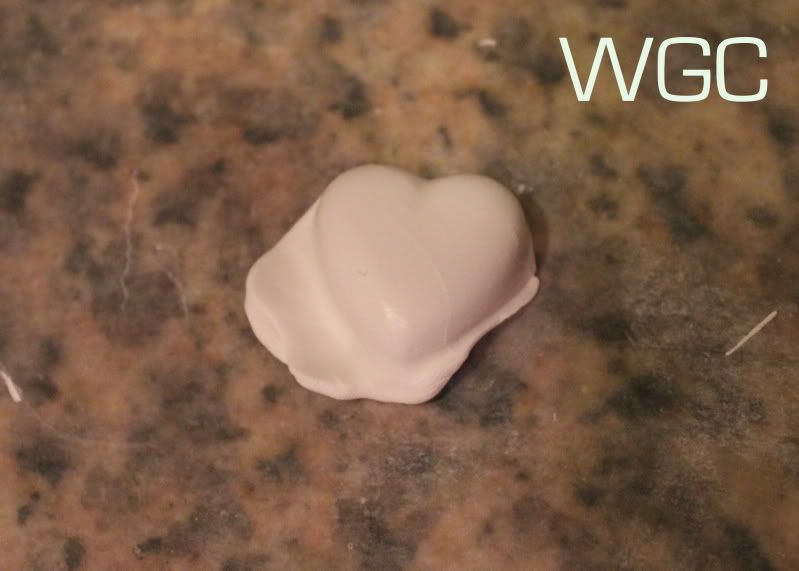
Start by kneading the clay for 2 minutes, don't over-knead it. Then press the clay into the mold. You want to over fill it just a little on one side, to use it to pull the heart out.

Photobucket

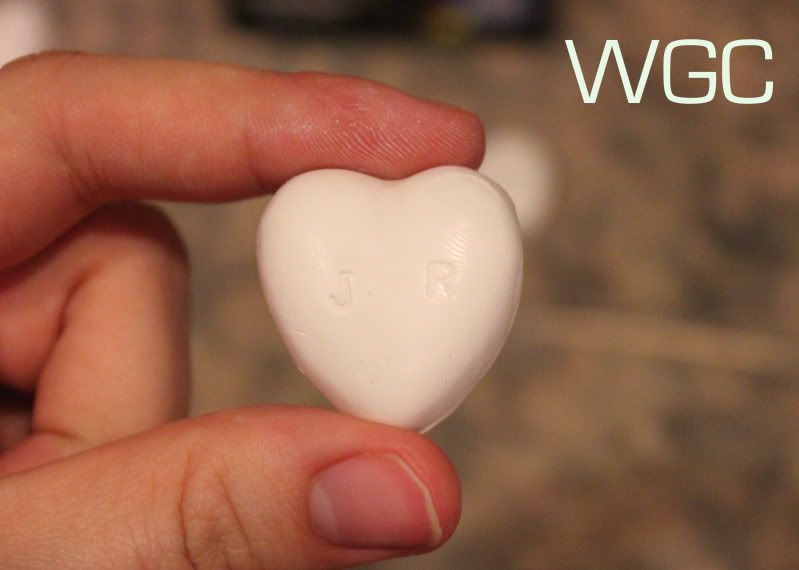
Cut the excess off with a toothpick, or you know, an actual sculpey tool. Next, gently press the letters into the clay. Not too hard, or you'll get a circle around the letter, but not too soft either. Experiment. 

Photobucket

Next, bake for about 20 minutes at 275.

Photobucket

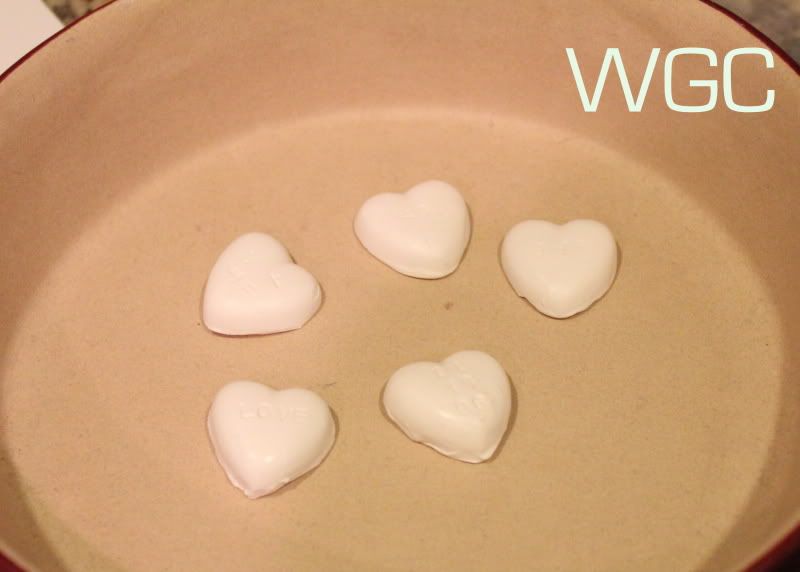
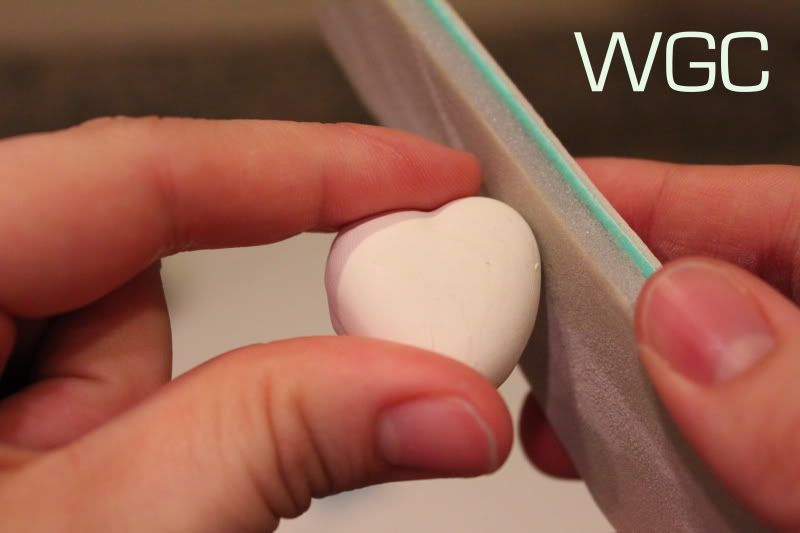
Let the hearts cool and then sand the edges to make them smooth. I used a nail file. 

Photobucket

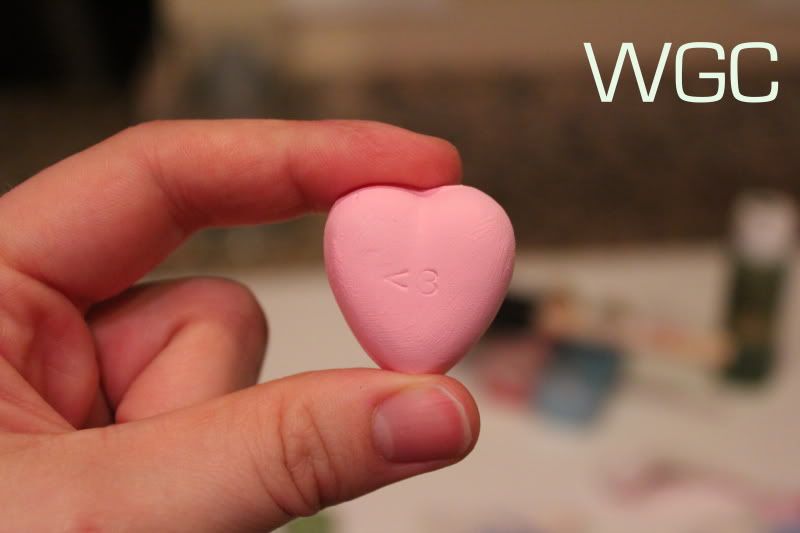
Now paint. If you got colored clay, skip this part. Let the paint completely dry, using two coats if needed.

Photobucket

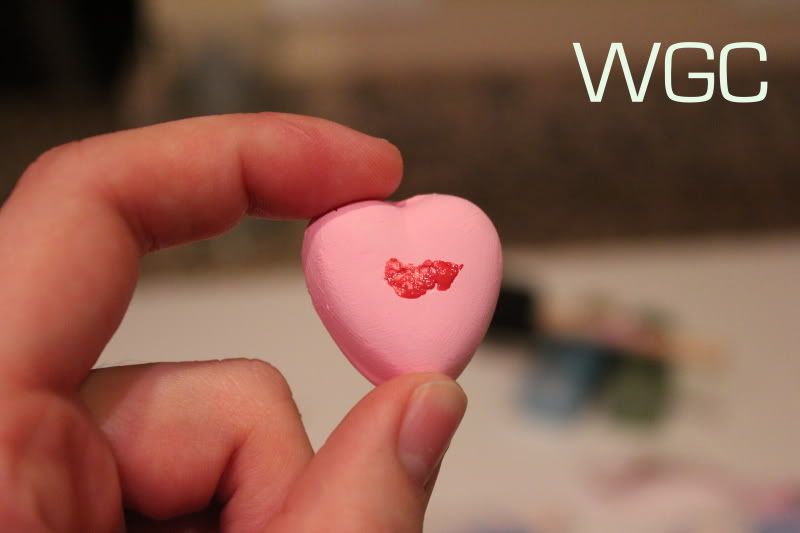
Next, take a tooth pick and dip it into the red paint. Smear over the letters.

Photobucket

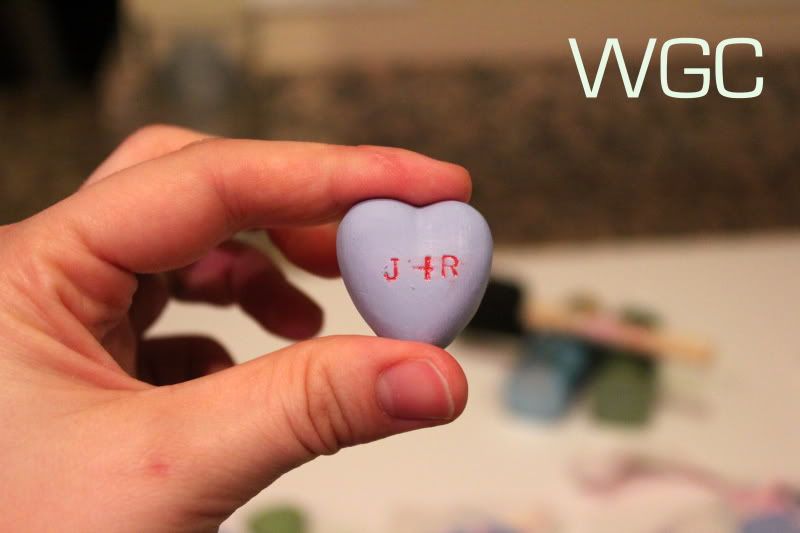
Wipe off with a damp paper towel, leaving paint just in the letters.

Photobucket

Magically it will change into a new heart =)

Photobucket

I made one with our anniversary on it too.

Photobucket

Ta-Da!

Valentine's Chocolate Hazelnut Creme Puffs

Wayward Weekend #2 is still open! Oh, and today's my husband's birthday

Last year for Valentine's Day, I saw Paula Deen make this and I decided to give it a shot: chocolate creme puffs with a homemade hazelnut filling.


To make creme puffs, you start with water, butter and salt, and heat them to a boil. Then you add the dry ingredients.

You stir those until it forms a dough ball, and let it cool 5 minutes.


Then you beat in the eggs one at a time until it's well mixed and glossy:


I didn't have a piping set at the time (though I do now--Merry Christmas to me!), so I used the old kitchen standby: a Ziploc bag with the corner cut off.


And then you pipe them. If you're using a real piping set, a star tip can make these extra pretty. And honestly, they need all the help they can get . . .


Then you bake them at 375 F--and according to my friend Annette Lyon in her cookbook Chocolate Never Faileth, do NOT use a convection setting, because the cream puffiness depends on heat radiating from the bottom up.

He IS always watching

Mine didn't puff up a ton—in fact, if I remember correctly, I kept sticking them back in the oven because I was convinced they weren't done. (They turned out just fine.)

For the hazelnut filling, you toast the hazelnuts and then grind them up. You add in powdered sugar and chocolate. I didn't have quite 5 ounces of chocolate, so I skimped a little there (I know, I know, terrible of me. I probably ate the rest of the chocolate.)

The result looked a little grainy—it's definitely not Nutella—but actually tasted very smooth and rich. Mine ended up on the dry side because I was short on chocolate, but it was still very tasty.

Cut the creme puffs in half and spoon or spatula the filling inside and voila!


What's your favorite Valentine's treat?

Wayward Weekend Week #2

Welcome back for round two of Wayward Weekend! We were so excited to have 98 links last week and lots of new followers. Welcome everyone! We want to see what kind of stuff you've been up to this week.

This is what we've been up to this week:

Jordan shared her knitted pink ruffle scarf:


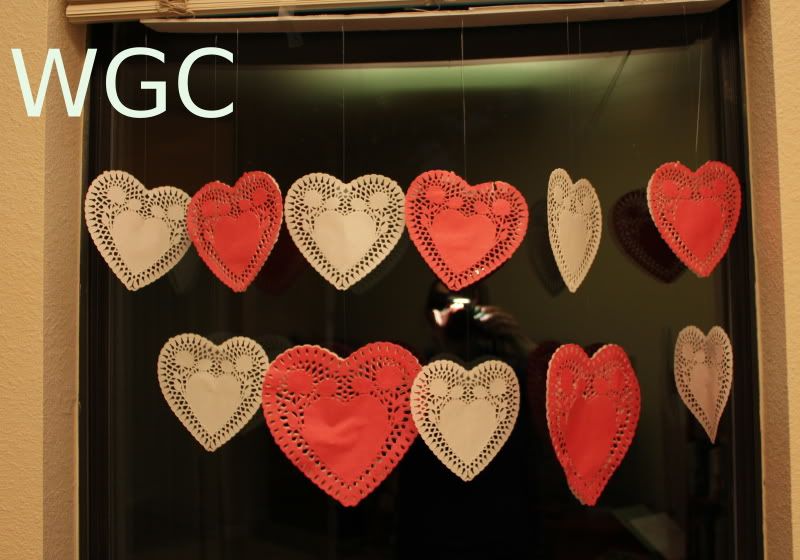
Jaime shared her $2 Doily Window Display

Photobucket

Brooke shared her Valentine's Mantle


Jasmine shared her Hot Chocolate Dipping Spoons


And finally, Mom shared her necklaces and the way to make every necklace the perfect length


And we featured our favorites from Wayward Weekend #1 earlier today!

Now let's see what YOU'VE been up to!
Wayward Weekend Guidelines:
1. We ask you follow us before linking up.
2. We ask that you visit and comment on others' blogs. This is the whole point =)
3. We ask that you please use this badge somewhere on your blog:


<a href="http://www.waywardgirlscrafts.com/search/label/wayward%20weekend"><img src="http://i192.photobucket.com/albums/z41/MamaBlogga/waywardweekend.png" border="0" alt="Wayward Weekend" /></a>

Wayward Weekend Features

The Wayward Girls have each picked a favorite link to be featured from our very first link up!

Diana/Mom loved Smallgood Hearth's Fortune Napkin Rings


Jordan enjoyed Everyday Art's Roll Up Organizer


Jaime was all about Crafty Cousins' Ruffle-y Shirt Refashion

Ruffle Shirt (27)

Jasmine's favorite was Tousled Day's Polka Dot Nails


Brooke's chose Always Chasing Life's DIY Shoe Closet


If you were featured, please grab a button!


<a href="http://www.waywardgirlscrafts.com/"><img src="https://blogger.googleusercontent.com/img/b/R29vZ2xl/AVvXsEh5C3bw30ZpheQE52iUDZ0fyIeNArGXyvazKgU64R8FCn5UkOnfXHSKFbbQcrJfNvwPp9zDZgVBwyUUloAGif8FlorKmNn-Y9ju9qq4CpH6Ot45dAwn9zMDc33QkLHVXjm5WcTGQ-BjfBs/s1600/wayward+weekend+featured.png" border="0" alt="Featured on Wayward Weekend at Wayward Girls Crafts" /></a>

WW Week #2 Starts in 1 hour! Come back to link up!

The perfect length necklace!

I spent a lot of time at our recent craft-palooza making or repairing jewelry. I ended up with about 4 new necklaces, but alas, they didn't turn out to be the perfect length for my chosen outfits. I thought about making them permanently shorter or longer, but then I decided I wanted to have the freedom to wear them at different lengths.

So... I looked pulled together a few tools....


Then I experimented. Since I wanted to make my red necklace shorter, I joined two clasps with 1 jump ring. Now I can clasp the chain of my necklace wherever I want, to change it from a long one that fits my argyle sweater perfectly, to a shorter version.


If your necklace is too short, you can put a few inches of chain between 2 clasps to lengthen it. (Sometimes I just use a chain bracelet to make a longer necklace.)


Here are a couple other necklaces that I made:

Hot Chocolate Dipping Spoons

I don't know about you, but where I live it's quite cold. After sledding with my cousins and friends the other day, we went and got hot chocolate. That reminded me of hot chocolate dipping spoons I saw on pinterest. I decided (without consulting pinterest) to make my own.  These are super easy to make. They are hot chocolate stirrers. You can make them out of any kind of chocolate you want. These can be individually wrapped and given as gifts as well.

Baker's chocolate stands up better at room temperature but chocolate chips will be sweeter (depending on the kind.) Heat up some chocolate in a microwaveable bowl. Stir every 30 seconds- a minute. Be careful, I totally burned my chocolate...and non-microwaveable bowl. Dip a spoon in the chocolate.

You should fill the spoon up fairly full. Don't over fill it though.

Place on wax paper. Sprinkle whatever toppings you want (ie sprinkles, cane sugar, I did crushed peppermint.) Let the chocolate cool and set up. Then serve.

I also made some with peanut butter. To make the peanut butter ones, dip your spoon in the chocolate and tap out most of the chocolate. This will coat the spoon and leave room for the peanut butter.

You can make a peanut butter and powdered sugar mixture (equal parts) or just use regular peanut butter. Taking a knife, spread some peanut butter onto the spoon.

Dip the spoon (carefully) back into the chocolate coating the peanut butter. Place on wax paper and let cool. Then serve with a nice hot cup of hot chocolate! 

Valentine's Day Mantle

Jaime's post yesterday inspired me to decorate for Valentine's Day. I got out decorations out and bought a few new things.
I had this pinned and once I went to at the tutorial I noticed it is in Chinese and even when Google Chrome translated it there weren't any instructions. So I wrote up a tutorial for you guys and I even remembered to take pictures!

Felt Hearts Garland
All you need is felt (I used about 1/6 of a yard of each color) and your general sewing materials. Try to get stiffer felt


  1. Cut the fabric 4.5 inches wide. Mine was felt by the yard but it you use the sheets just cut them in half lengthwise. Sew up one long edge of each color.
  2. Draw with a fabric pencil every inch horizontally one color on the inside and one color on the outside. This is important! Cut the color that you marked on the outside along those lines. The other color turn inside out and line up the edge and sew. Cut along the lines. 
  3. Take the unfinished hearts (mine are pink) and hook together two finished hearts (mine are red). Turn inside out and sew the bottom edge. Continue on until your garland is finished. A trick for sewing these are to line them up and don't cut between the edge. See below.


When you're done it should look like this and you can cut it apart.

Here is the whole mantle! 

Related Posts Plugin for WordPress, Blogger...