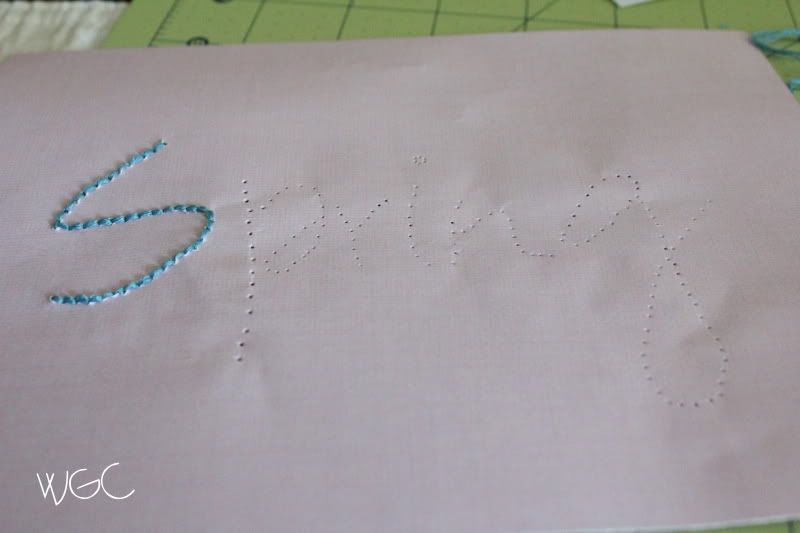
Here’s what I did a little wayward from the tutorial:
2. I used a needle and sewing pin to make the holes in the paper rather than a thumbtack. Somehow our thumbtacks were displaced during our moves and we haven’t replaced them. So I used a needle for a while and then a pin. I wouldn’t recommend it. It wasn’t easy and I think it wrinkled the paper a bit because of the force I had to use and how I held it. Use a thumbtack.
3. At first I used her recommendation for the length of the embroidery floss but I found it to be a little short when doing longer letters like the “g” so I doubled it. No biggie.
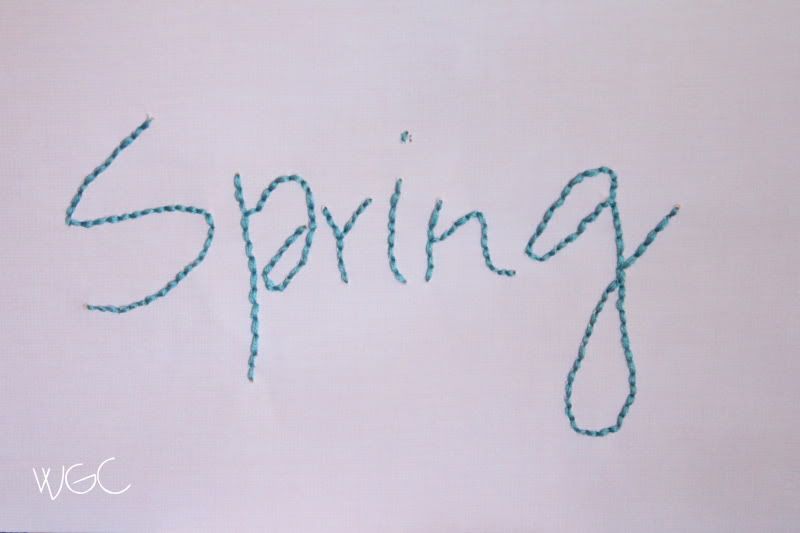
4.The dot on the “i” didn’t work out. Maybe too many holes in too small of a space?
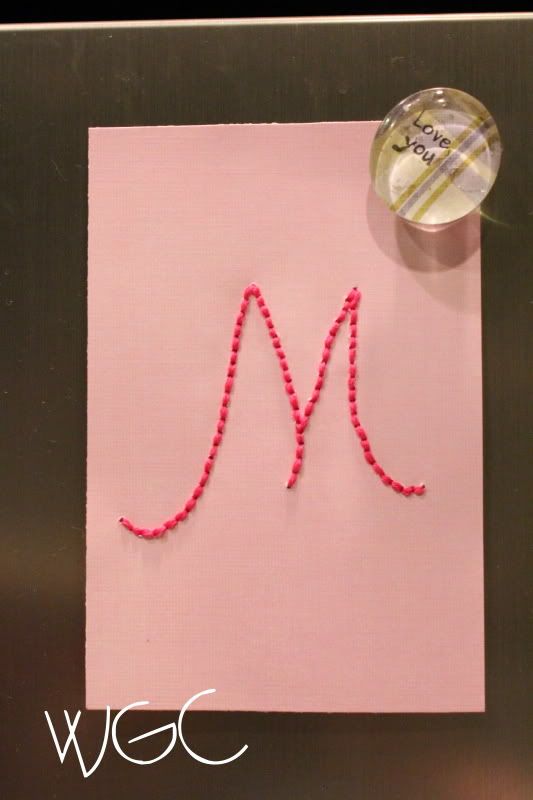
Bottom line: this is a really cute way to personalize anything. I was thinking about all the possibilities. This is one I came up with this one for an inexpensive, but totally cute baby gift:
Finished Product:
Bottom line: this is a really cute way to personalize anything. I was thinking about all the possibilities. This is one I came up with this one for an inexpensive, but totally cute baby gift:
I framed this for a baby shower gift. I love it!
I've got more ideas so I may be sharing this again. I hope you try it out!


I love this! I love how simply and sweet it is!
ReplyDeleteThis turned out awesome.
ReplyDeleteI used to x stitch all the time, now not so much....or I should say not at all, lol.
Love it!!!
ReplyDeleteI think it turned out wonderfully! I like it a lot. Thanks so much for sharing the information on how to do this!
ReplyDeleteThis is a great project! I love the texture and simplicity! I think I might try it- thanks for the tutorial! :)
ReplyDeleteI love embroidery and I love the idea of doing it on paper.
ReplyDelete