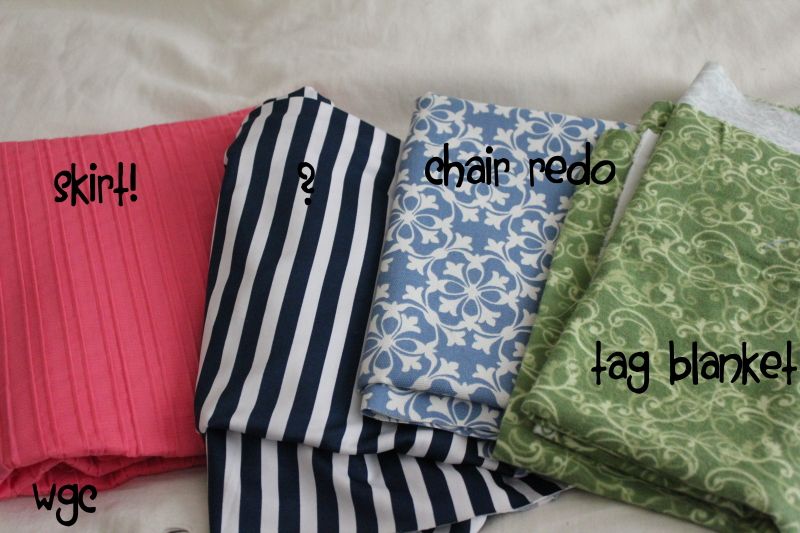
The coral fabric on the left is the one I used for this project. (Chair Redo, Tag Blanket)
On Saturday, I was finally read to make something with this fabric. I decided on Cotton and Curl's Pencil Skirt from Scratch, Baby! as a guide but I changed mine a little.
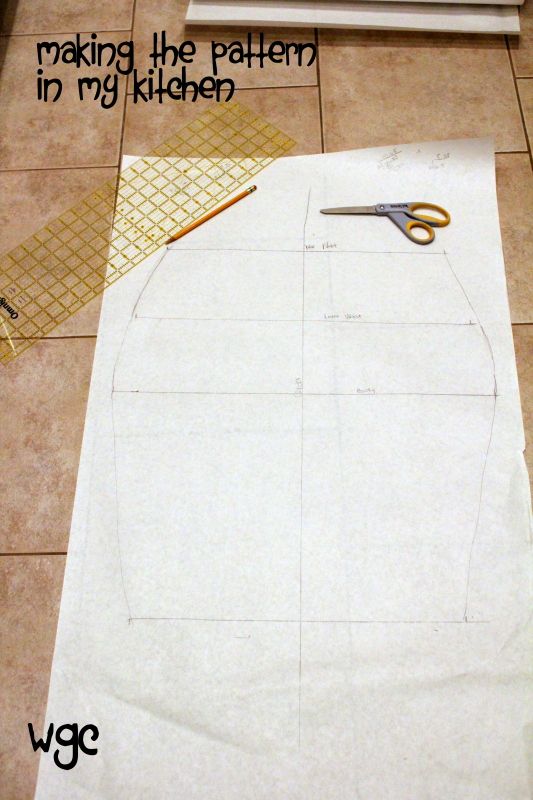
I took my measurements: natural waist, lower waist, booty, knees, natural waist-->knees. I did as the tutorial stated and added an inch to those measurements, except for the length--I added two inches at the bottom for a hem. Then I made my pattern on a big roll of paper:
I worked in my kitchen because it has the best lighting and no carpet!
I drew a line down the center of my paper. Then I took my waist measurement + seam allowance and divided by two, then divided by two again. That's how much should go on either side of the center line. I marked that on the paper and drew a straight line across with the words "Natural Waist" just in case I forgot. I repeated the process for each of the measurements and then drew the outline of what I wanted the skirt to look like. Then I cut the paper pattern out.
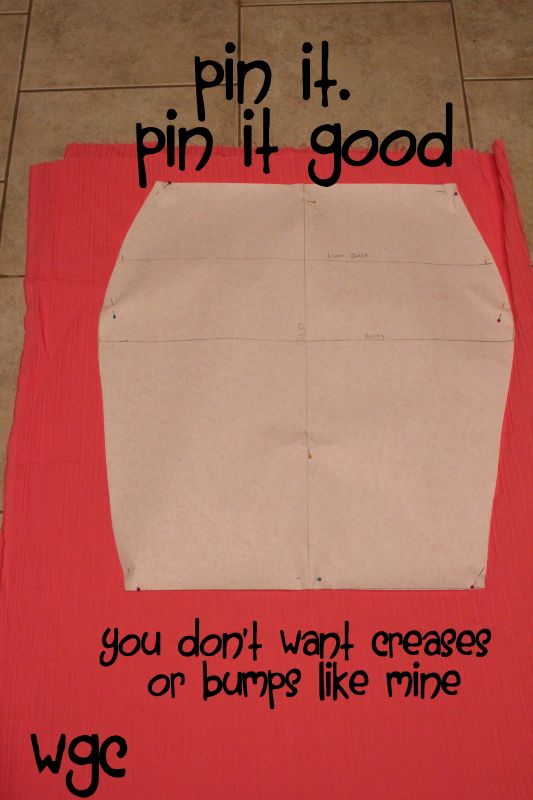
Then I pinned the pattern to my folded fabric, making sure the pins went through both layers of the fabric and didn't have bumps or creases (I fixed it after this picture). Bumps can make the fabric uneven when cutting and cause weirdness in your cut piece.
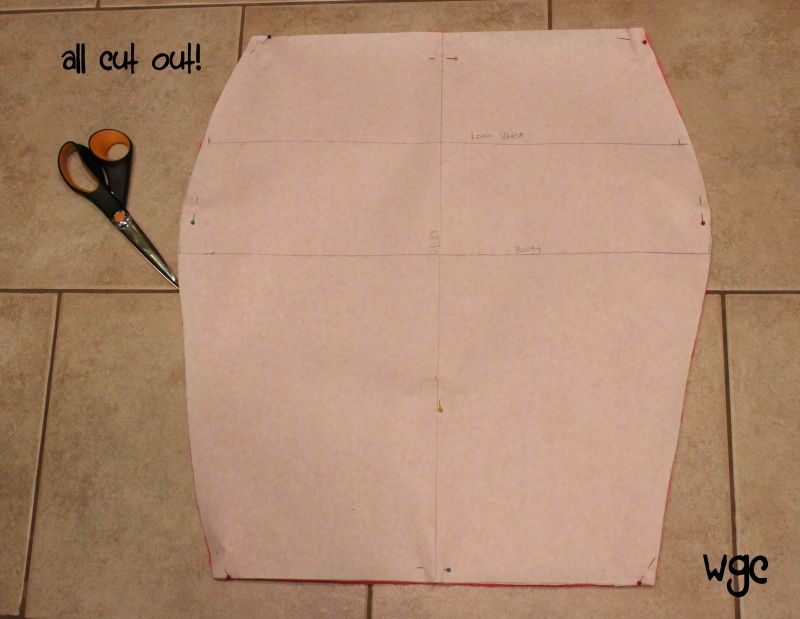
Using my super sharp scissors (Thanks, Mom!) I cut out the pattern.
I sewed a short hem on the waistband and then sewed the two two pieces together. Finally, I tried it on to see where I wanted the bottom hem and hemmed it twice, for a more finished look. Meaning, I folded and ironed 1 inch all the way around, then sewed that. Then I folded and ironed another inch and sewed that so the raw edge wouldn't be seen at all. Make sense?
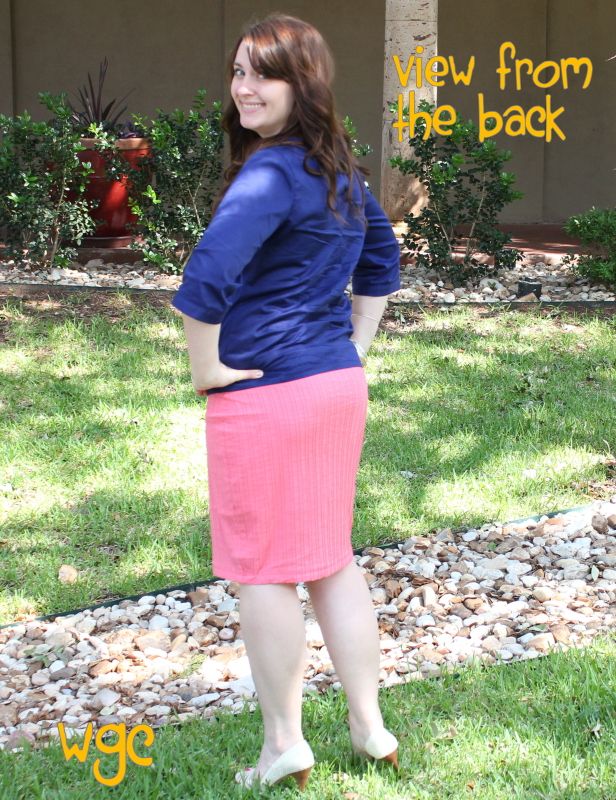
Then I wore it to church on Sunday:
What do you think?
My review of the tutorial: I got a little mixed up with the dividing the number in half but I figured it out. I didn't like that the tutorial didn't call for a hem on the top of the skirt. Next time, I will add another inch to the top of the skirt for a better waistband. Yes, there will be a next time because this skirt was so easy I want to make more!
UPDATE: I forgot to say this is a knit fabric with some elasticity and give to it, so that's why it doesn't need a waistband or elastic. I bought it at Jo Ann. Thanks for asking Rosie!
UPDATE: I forgot to say this is a knit fabric with some elasticity and give to it, so that's why it doesn't need a waistband or elastic. I bought it at Jo Ann. Thanks for asking Rosie!

sooooo cute! love the tutorial. i havent made a skirt since home ec. class in high school and that was 30 years ago!!
ReplyDeleteI'm so impressed. My sister is the only one I know who likes to sew things without a bought pattern. I will have to share this with her because the skirt is phenomenal and fits like a glove (or a skirt). Quite pretty for church.
ReplyDeleteThat looks too cute! I so want to make this!
ReplyDeleteI love it! You did a great job! I will have to attempt to make this. :)
ReplyDeleteI really love your skirt. It turned out really adorably and you look fabulous!
ReplyDeleteThe colour is fantastic and I could really follow the steps you took. It absolutely suits you. I really want to make a pencil skirt but worried about the fabric to use. What type is this fabric?
ReplyDeleteI have real problems finding heavy jersey knit in England...that doesn't look aweful. I'm not sure my lumps and bumps could go for a thinner fabric!
I would love it if you could link this to my summer series party.
http://craftbotics.blogspot.co.uk/2012/05/festival-fever-week-3.html
Rosie xx
cool!Love it. Tutorial is great
ReplyDeleteGreat job and great tutorial.
ReplyDeleteYour skirt looks (can you guess) great on you :)
Cute! Awesome job, Jaime.
ReplyDeleteYou did a great job! Cute :)
ReplyDeleteShannon @ http//:www.2ndstorysewing.blogspot.com
Cute! And it fits perfectly =)
ReplyDeleteVisiting from I heart naptime
I would love for you to share this on my linky party!
ReplyDeletehttp://www.igottatrythat.com/p/blog-hop-linky-colde.html
Thanks, Marcie