Pages

The day I met Kristen Duke

Have you heard of Kristen Duke? She's an amazing photographer and the author of the Say NO to Auto ebook/book. I'd seen her book featured on various blogs and started following her on Facebook. I would visit her site and wish for the opportunity to go to her workshop, or meet her! Then my opportunity came! Kristen does photography sessions all over and she was asking for some helpers for some upcoming shoots. I quickly volunteered and was able to help out with a family photoshoot! It was really fun to help out. My job was to keep the kids engaged and smiling and carry the gear =) I think I did pretty well, though I hope Kristen didn't get sick of me saying "Pickle doughnuts!"

Photobucket 
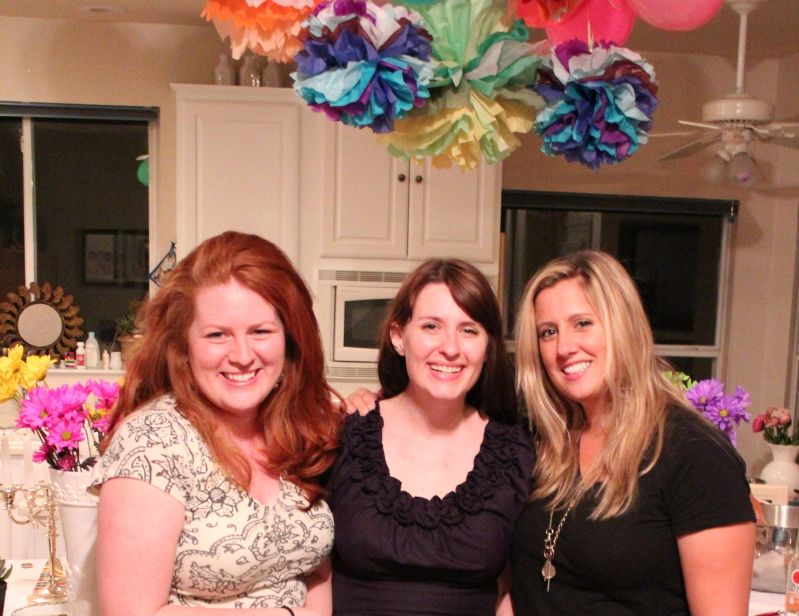
Kristen and Me, after the shoot. Tired! Scarf tutorial

Then earlier this year, I got to attend Kristen's Say NO to Auto Workshop which was awesome! It was the piece I'd been looking for. I'd had a DSLR for over a year and tried numerous times to understand the various different controls for manual settings without any luck. I didn't understand how they all worked together. Kristen's workshop helped it to call come together. I realized the three controls worked together and trying to understand them separately doesn't work! By the end of the workshop I was taking photos with manual settings and I haven't looked back since!

Photobucket

Photobucket
Progression during class

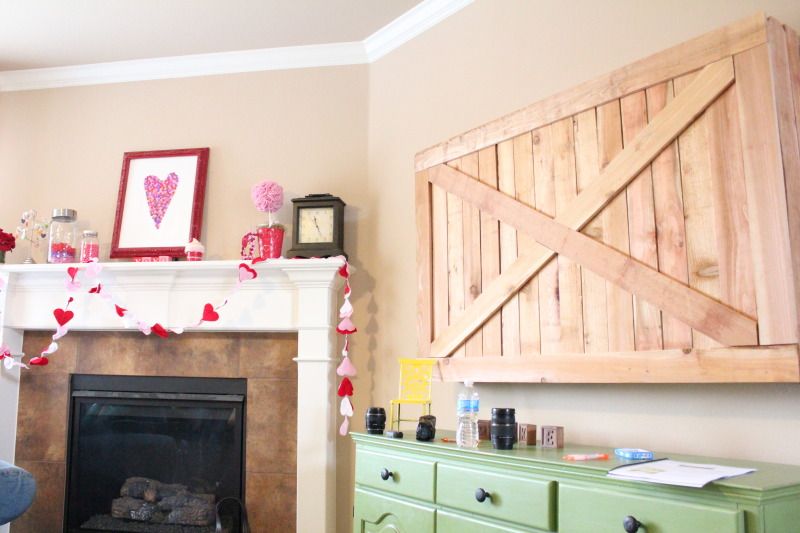
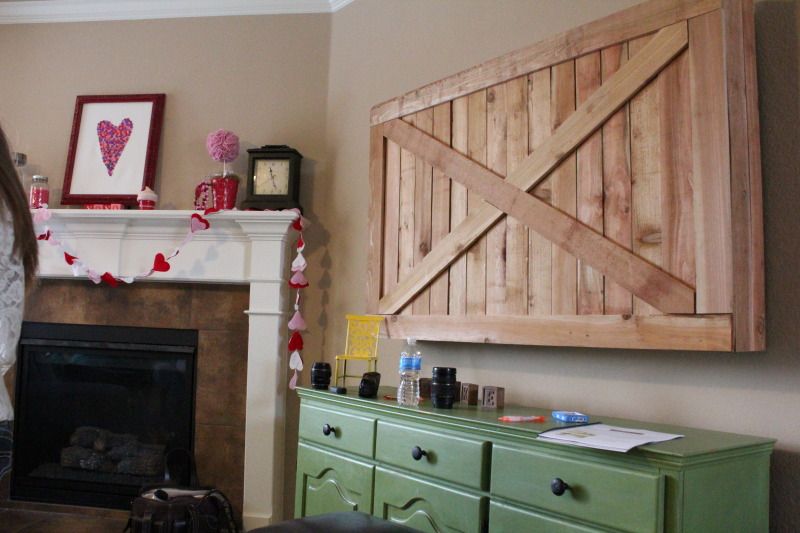
Kristen also has a really fun blog. She's writing about how she met her husband and their love story and it's inspired me to write down my own. She's has a fun feature called Capture the Joy in Front of the Lens which is about taking photos with your loved ones. She's also got some really fun DIY projects, like the barn door tv cover, pictured above!

If you didn't notice, I'm a Kristen fan, but she didn't ask me to write this and I hope she doesn't mind I wrote it in fact! I'm just thrilled with what I've learned and continued to learn!

Photobucket
Trying out my new skills

Photobucket
Hawaii!

Photobucket
I set this shot up and Anne's husband snapped it (from my birthday party!)

Photobucket
Anne's beautiful daughter


So check her out already!

One Peach, Two Peach, Simply Peach Pie

Last week, Jasmine was visiting me and she bought us some peaches. And like a dufus, I let them get a bit mushy. What tastes more like summer than peaches?

I only had two worth saving, and what I really wanted was a peach pie. So I dug out one of my mini pie pans and figure out a peach pie for one large peach or two small.


I wanted the peach flavor to be front and center, so I didn't add any other spices. Feel free to customize that!

Simply Peach Pie
Double crust for a 5" pie pan:
1/2 c + 1 Tbsp flour
1/4 tsp salt
3 Tbsp shortening
~3 Tbsp ice water

pie filling:
2 small or one large peach, pealed & sliced
2 Tbsp brown sugar
1 Tbsp white sugar
1 tsp cornstarch
1 tsp butter (1/3 Tbsp), cut into pieces
splash lemon juice and/or spices as desired

Milk & sugar to sprinkle on crust

Preheat oven to 350F.

For crust:
an adaptation of a pie crust recipe from the Better Homes and Gardens New Cook Book

Mix the flour and the salt in a medium bowl. Using a food processor, two knives or forks, a pastry cutter or your fingertips, cut the shortening into the flour until the mixture resembles coarse pea-sized crumbs. Add the water, one tablespoon at a time, to the flour, gently combining it, until the dough sticks together. Divide in two equal balls. Chill if desired. Roll out each piece to 1/8″ on waxed paper or a floured board. If necessary, carefully use a spatula or pancake flipper to get it off the board. Transfer one crust to pie pan.

For filling:
Combine dry ingredients, then stir in peaches (and lemon juice, if using). Pour into prepared pie crust, piling higher in center. Dot with butter.


Place second crust over top and seal edges. (I used a fork to make the decorative edges.)


Cut 2-3 1" steam vents in top crust with a sharp knife. Brush on milk and sprinkle with sugar.


Bake at 350 for 40 minutes or until done. Cool on a wire rack and enjoy!


What's your favorite taste of summer?

No-Sew Fall Table Runner

I had to make a prototype of a fall table runner we will be teaching at our church's Women's Day in September this week, so I thought I would share it with you.

I used the same technique as I did on the wonky woven placemats back in May. Click there for the step by step instructions.


To make the runner, you will need 1/3 of a yard of fall fabric, and scraps (at least 13" by 4" inches of coordinating fabric or ribbon, and 1/3 yard backing. You will also need Heat and Bond or Wonder Under iron on adhesive.
From the fall fabric, cut the table runner shape. It should be about 36" inches across including the angled ends. Apply the iron-on to the back.

Cut wonky strips from in the fall fabric.


I usually fold the fabric in half and cut from the fold. Be sure to stop about 1/2" from the beginning of the angled portion.


 Apply the Iron On Adhesive Backing to the coordinating fabric and then cut 13" strips of widths varying from 1" to 2.5" .Remove the paper backing from everything! Begin weaving. Keep nudging the woven strips to keep them tight.

You may need to trim the last strip to make it fit.  Place the completed runner on the backing fabric, wrong sides together. You do not have to trim the backing fabric.Take a last check to make sure everything is right. It is okay if the strips are longer than the runner. You will trim them in a minute. Make sure there are no gaps either vertically or horizantally.
Iron according to directions. Now trim the edges with a pinking blade.
Finito!


Painted Collage


Remember that collage I did for Craft-a-Palooza? Well, I finally decided what to do with it. One of my favorite animals is a duck so I decided to paint a duck on my collage! Since I used mod podge (AKA shiny, school glue based paste) I needed to use acrylic. Oil could've worked as well. Using a small paint brush, I free handed the outline of a duck. First I tried black but that just blended into the background. Then I decided to go with white. I covered the black outline with white then filled it in.
I had to paint a couple of layers to completely cover up the background and blend in the brush strokes. Easy beezy cute collage!

Cutting Up a Watermelon With No Fuss

It's gloriously hot outside and watermelon sure is in order! A couple years ago at a church function I saw a woman cutting up tons of watermelons like this and it took her no time at all. I feel like there is less waste and you have more control during the whole process.

Here are the tools you will need:
A large cutting board, a sharp knife, and a cookie sheet

First cut both ends off of the watermelon and set it on its end

Cut away the rind starting at the top toward the bottom


After all the rind is gone put it back on its side.


Cut it in half (horizontally) and place the other half in a bowl
Cut in half horizontally again
Finish cutting up the watermelon and then switch to the other half
As you can see in the picture the cookie sheet catches the excess juice. I poured it over my watermelon after I was done to keep it juicy. This produces so much less mess and waste. Go try it!

Ocean Inspired Chandelier Earrings

I just got back from Hawaii and I think these earrings fit in perfectly there:


Photobucket

I'm really loving them! I wanted to share how to make them, but I knew the wrap looped headpin was a technique to stand alone. Thus the first post. There's another technique I'll be showing today, but it is kinda similar to the wrap looped headpin so you'll catch on quickly!

Tools:
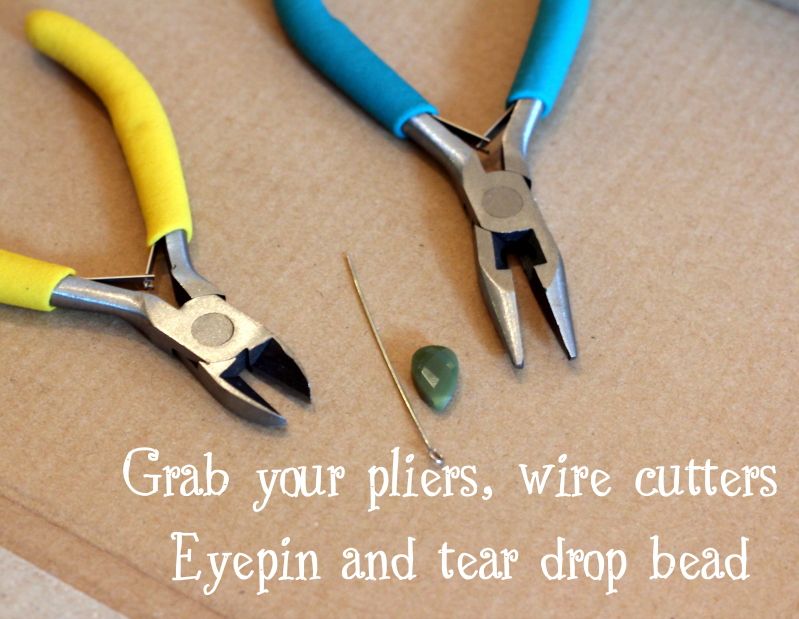
round nose pliers
regular pliers
wire cutters

Supplies:
Set of fish hook earrings
Headpins (32)
Eyepins (2)
Jump rings (16)
3 different beads. I used a green teardrop bead (2), a smaller silver circular (16), and a larger green circular bead (16)

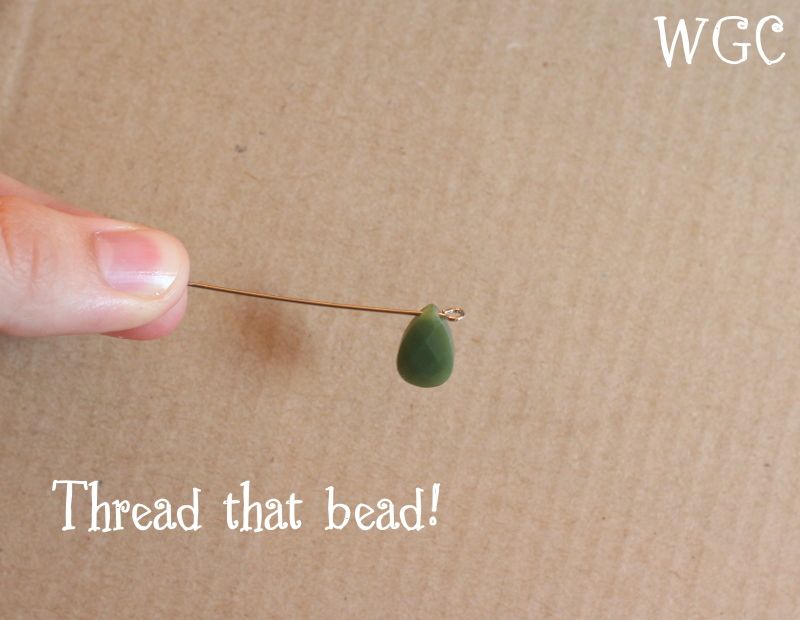
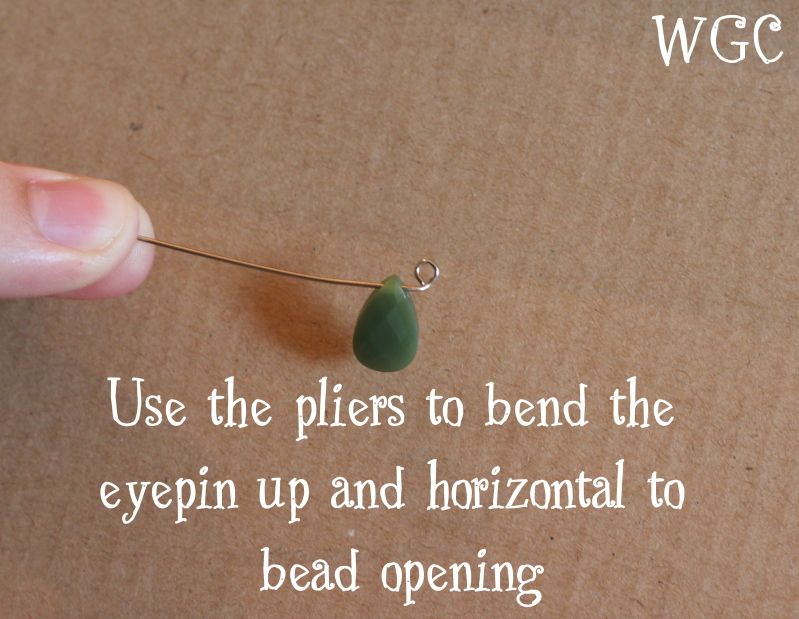
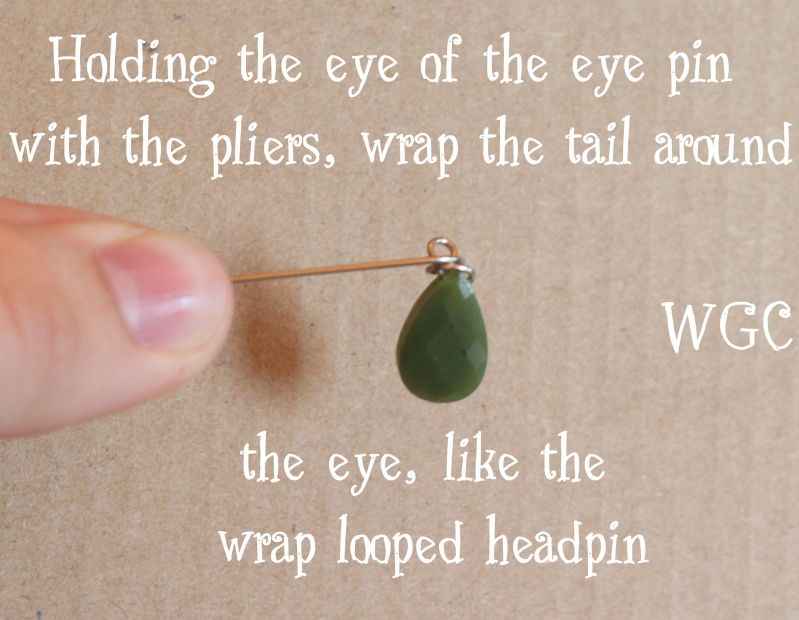
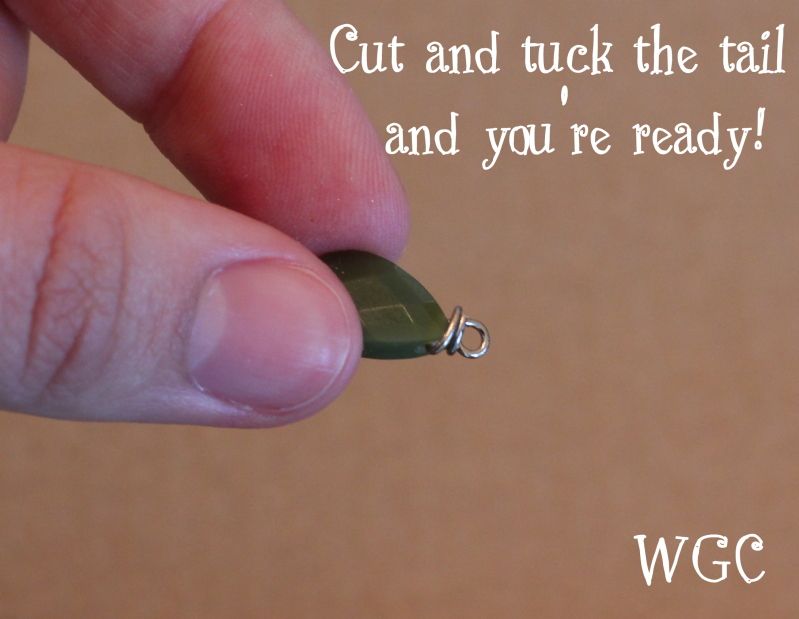
The first step is also the new technique. It's not very....pretty. But it doesn't matter because it works and it's hidden! If you are looking for something prettier, try Rebecca from My Girlish Whim's tutorial on How to Wire Wrap a Pendant 


Photobucket

Photobucket

Photobucket

Photobucket

Photobucket
Repeat on your other tear drop bead. 

Wrap all the rest of your beads (total should be 32) using the Wrap Looped Headpin Tutorial. The rest is just threading and closing.

Photobucket
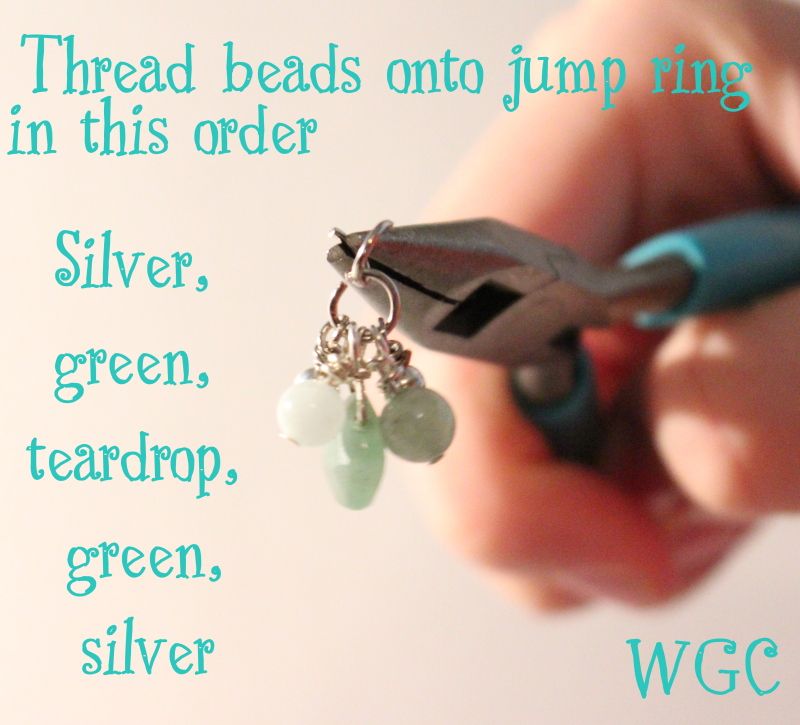
Open jump ring and thread the beads on. Close jump ring. 

Photobucket
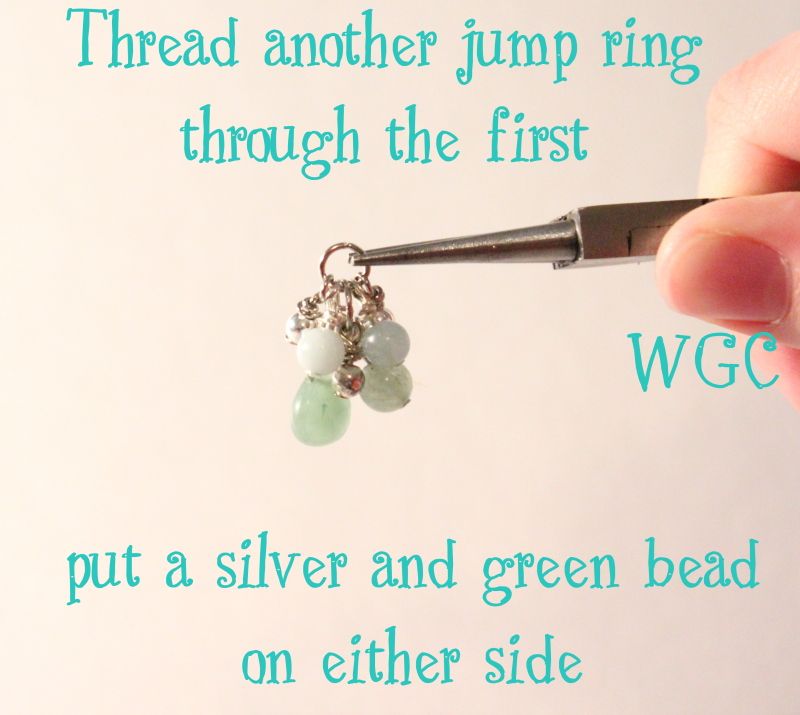
Open a new jump ring, and thread it through the first. Add the beads and then close the jump ring

Photobucket
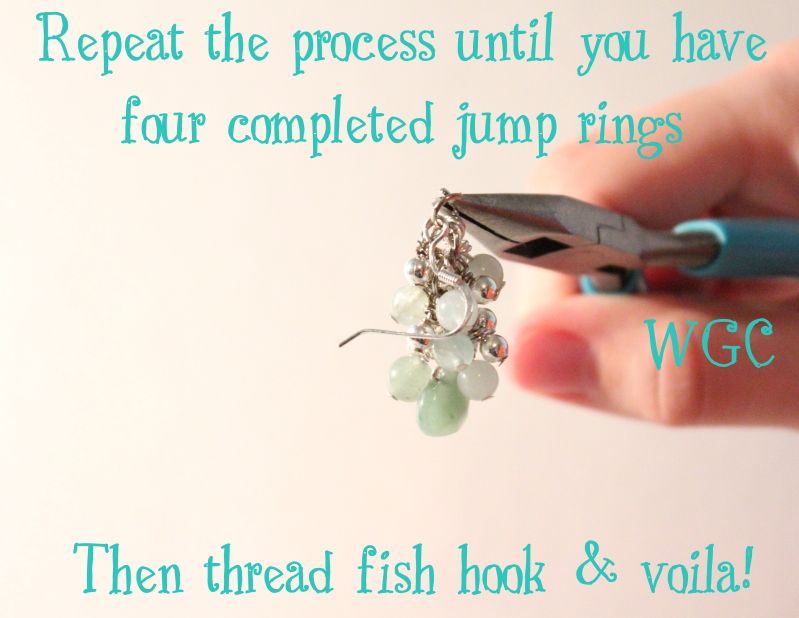
Don't forget to close the jump ring!

There you have it: 

Photobucket

What do you think? I say give in a try!

It's a miracle! I have a ceiling!

Oh, my kitchen. I love it and I hate it. We've got tons of storage, lots of counter space and an oven I love, but pretty much everything in there looks like it was last updated in 1987 (because it was).

This probably doesn't look like much to you, but to me, it's pretty much a miracle.


Here's what it looked like when we moved in (picture taken facing the other direction) :

The ceiling became the most urgent issue over a year ago. It was a (yucky) drop ceiling with "cracked ice" light covers. The fluorescent bulbs began to flicker. After replacing several of them, we realized the fixtures themselves were failing.

It only took EVERY SINGLE LIGHT FAILING and then another month or two of working in the dark to finally tear out the drop ceiling and old fixtures and get our recessed lighting installed. (DH did a great job!)

Picture taken from yet another angle.
When you're really unhappy with your kitchen, you avoid photographing it!
But our redo was just starting. The textured plaster underneath the light fixtures was filthy, cracking and peeling off in places, and riddled with holes. Taking out the drop ceiling revealed unfinished walls on every side of the kitchen, including faux sheetrock walls forming the doorways into two other rooms.

Can you say overwhelmed?

It took us almost a year to make progress from there—it took my dad.

Dad (the Original Wayward) has done pretty much every home improvement ever. When he and Mom came to visit this month, we put them both to work.


It took pretty much their entire visit (with time off for fun, of course), but Dad and DH got the ceiling completely finished and redid the walls. All we've had to do this week is final patching, sanding and painting!


Miracle!

Not to be outdone, Mom reorganized both of my kids' rooms and closets, as well as my living and dining room.


My girls love their closet! Before not only could you not see the floor in there, but it was overflowing with a mix of too-big and too-small clothes. Now all the too-small clothes are sorted and out of the way, and the clothes they're growing into are boxed by size and waiting!

The living room just looks clean now, but the space between the couch and the end table had become a collection point for things without homes: a case of flour, a box of dried fruit, all our tote bags, etc., etc.

THANK YOU, MOM & DAD!

Bias Binding Simplified

This week I have been working on finishing up my own quilts for the Downy Quilt project Brooke wrote about on Wednesday. I was excited to try my Bias Binding Simplified ruler I bought at the quilt expo.
This ruler and tons of other ones are offered at Creative Grids. The website is very informative. They show all of their rulers along with videos of how to use them. The rulers have an anti-slip strip on the back to help in cutting. When I am ready to buy more rulers for quilting, I will be looking here!

On the video for the Bias Binding, developer Janice Pope explains why bias binding is much more durable than  straight grain binding. Check it out whether or not you buy the ruler.

The ruler shows how much fabric you will need to bind your quilt. It is much less than you might think. It also shows how to fold the fabric to get the most strips out of it.
To cut the strips, you just follow the folding directions. I had the video on my Kindle Fire and on my computer as I sewed.  
Here are the folds.


Once you cut the strips (I used the 2 1/4" width,) you see them together like this. You don't have to pin them, but I did so that I could match my stripes.

Press open the seams and then fold in half.
The video shows how to miter the corners and make the ends meet.
Here is what the binding looks like on the cowboy quilt:
I love how the stripes look!

Check out the website!