Materials:
Shirt
Stamp
Fabric Ink Pad (Mine was from Hobby Lobby, $3.99)
Cardboard
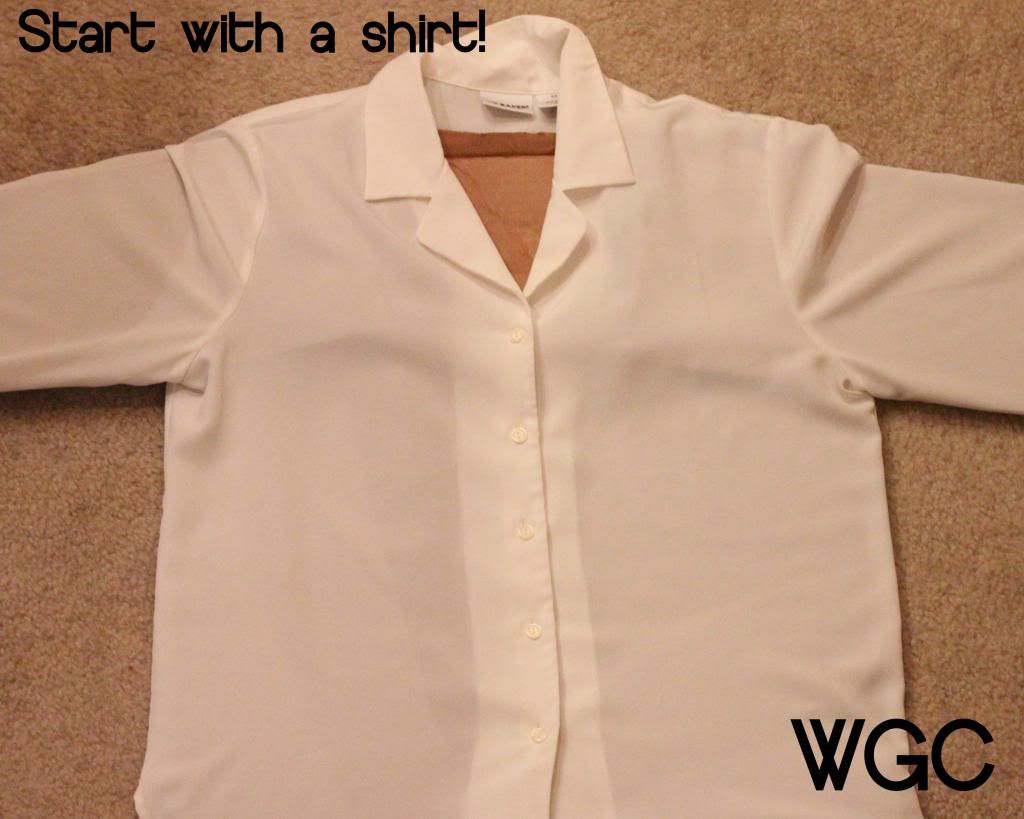
First step, get a shirt. I picked up this beauty at Goodwill:
This shirt is 100% polyester, although the ink says it works best with natural fibers.
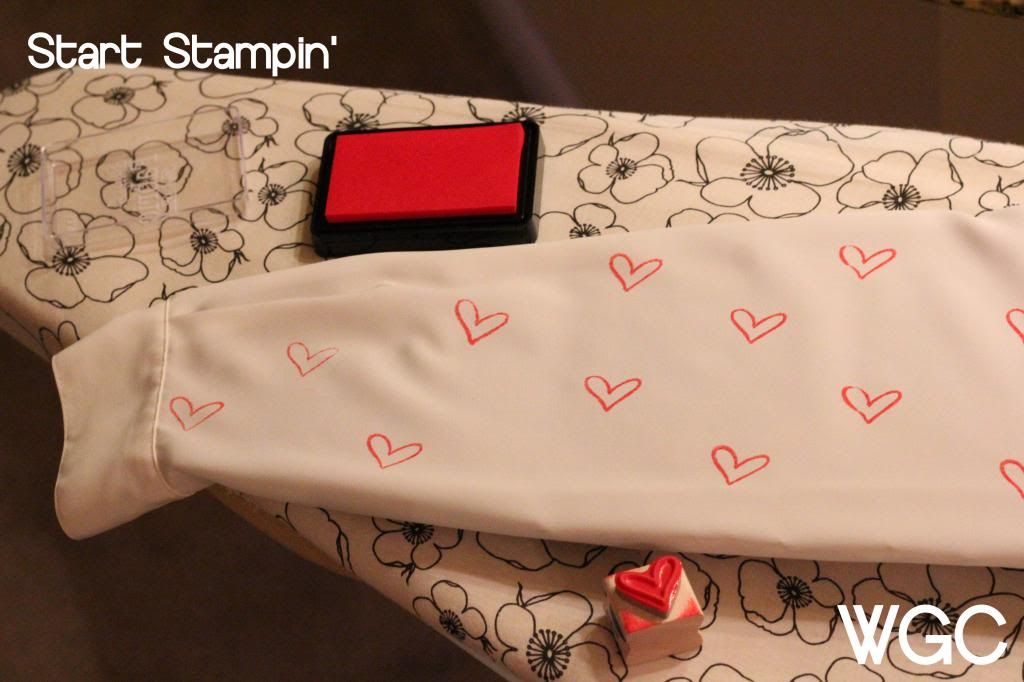
As you can see, I placed cardboard in the shirt and sleeves to separate the layers. This is an important step! If you don't do it, you'll be stamping through both sides.
I flew by the seat of my pants on this (and always, I'm wayward) and just started on the sleeve. If I were to do it again, I'd start on the back side. It went quickly and I was quite excited with the results.
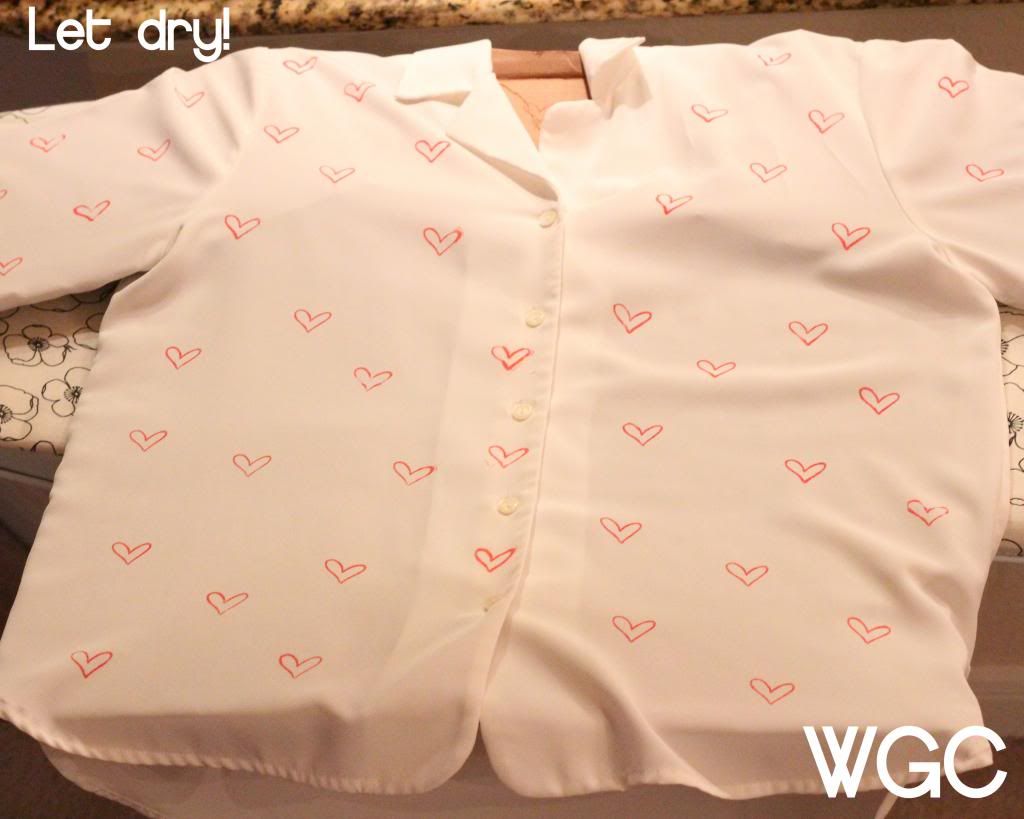
I let the shirt dry overnight and then used a hot, dry iron to "set" the stamping, as recommended on the back of the stamp pad. Then I flipped the shirt over and completed the same thing on the back side.
This is how it turned out!
This is how it turned out!
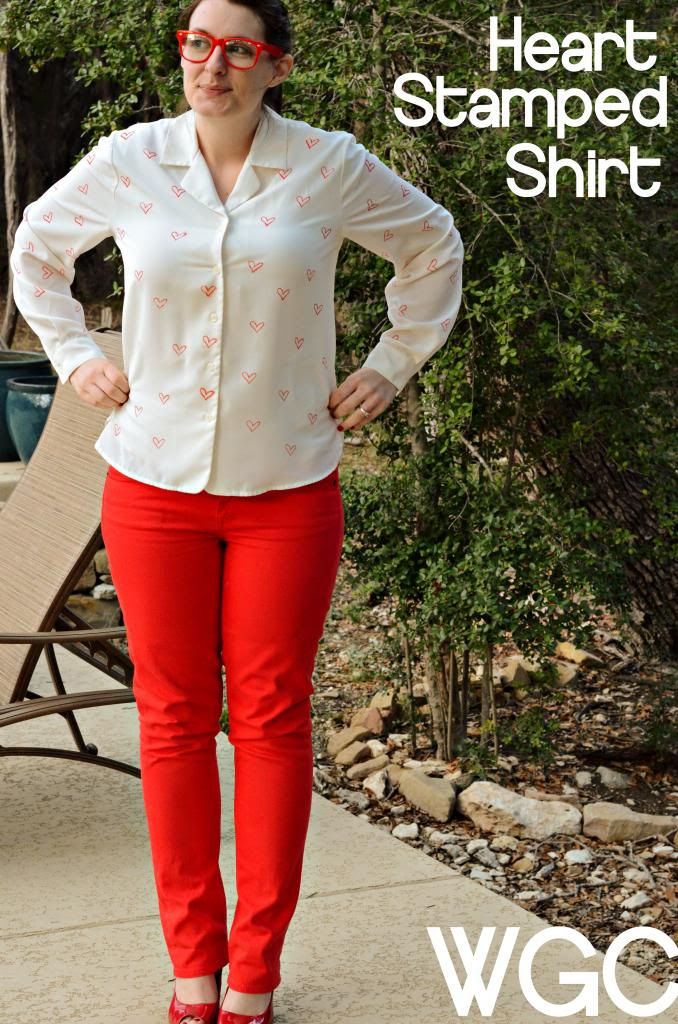
This is how I wore it to the party.
make animated gifs like this at MakeAGif
Not bad, eh? Best compliments: people didn't believe I'd done design! I had to show them my little mess ups to prove it to them.
The possibilities are endless for shirts! I'm thinking about having a little craft night with friends to do it all over again!


That's wildly adorable (and absolutely unique)! I never would have thought of something so simple and yet so clever. I know what I'll be on the hunt for next time I'm at the craft store and Goodwill.
ReplyDeletethat looks beautiful
ReplyDeleteThis is really nice!
ReplyDeleteThanks for visiting my blog, I'm following your, it's fabulous ;D
xoxo Julieta
Cute! :)
ReplyDeleteI'm with the other commenters I had no clue there was fabric ink! It looks so cute and I love your animated graphic.
ReplyDeleteI love it!! You have the best ideas and make it look so easy.
ReplyDelete